Philippines Visa for Indians in 2026: Visa-Free Entry, On-Arrival Rules & How Long You Can Stay
Good news for Indian passport holders heading to the Philippines: you can walk off the plane at Manila (NAIA), get your passport stamped, and stay for up to 30 days. No embassy visit, no eVisa application, no prepaid invitation letter. Planning the wider region? Our Southeast Asia backpacking hub covers the full multi-country route.
In practice, many travelers search “Philippines visa for Indian citizens” or “Do Indians need visa for Philippines” and end up reading outdated posts telling them to get a visa in advance. The rules have since changed and most of those articles have not been updated. Here is what happens at the immigration counter in 2026, cross-checked against the official Bureau of Immigration (immigration.gov.ph) public bulletins on 2026-06-26 and confirmed against the current BI ACR I-card fee schedule.
Quick Answers
| What | Answer | Price (INR) |
|---|---|---|
| Do Indians need a visa for the Philippines? | No, visa-free entry for Indian passport holders | ₹0 |
| How long can Indians stay in the Philippines? | 30 days, extendable at a BI office for PHP 3,030 per additional month | ₹0 (initial 30 days) |
| Is the 30-day stay extendable? | Yes, at any BI office for PHP 3,030 per month | ₹5,300 (~$54.91) per month |
| Is there a separate airport/terminal fee? | Yes, PHP 550-850 paid at the airport (separate from the visa; depends on Manila vs Cebu) | ₹830-₹1,283 (~$8.61-$13.31) |
| Passport validity required? | At least 6 months beyond your date of entry | ₹0 |
Verified against the official Bureau of Immigration (immigration.gov.ph) public bulletins on 2026-06-26. Rates confirmed against current BI ACR I-card fee schedule.
How the Visa-Free Entry Works
Here is the step-by-step, what-happens-at-the-counter version. I am not going to give you the boring government-summary version. This is the on-the-ground version.
Step 1: Get on the plane. No visa application, no fee, no embassy. Just book your flight.
Step 2: Fill out the arrival card. On the plane (at kiosks before the immigration line at NAIA), you will be handed or asked to fill a Philippine Arrival Card and a Health Declaration. Keep your pen ready; they pass out a paper version on most Manila flights.
Step 3: Stand in the foreign passport line. NAIA has gotten better in the last two years, but it is still 30-90 minutes depending on your terminal and flight bank. Terminal 3 (the main international terminal) typically handles the largest volume of international arrivals.
Step 4: Talk to the immigration officer. Expect questions about your visit: purpose (answer: tourism), duration, accommodation address, and onward travel. Keep answers short and straightforward. If you say 40 days, they will stamp you for 30 days only. Have a hotel or hostel address ready, even if just for the first night. Screenshots of your return ticket work if asked.
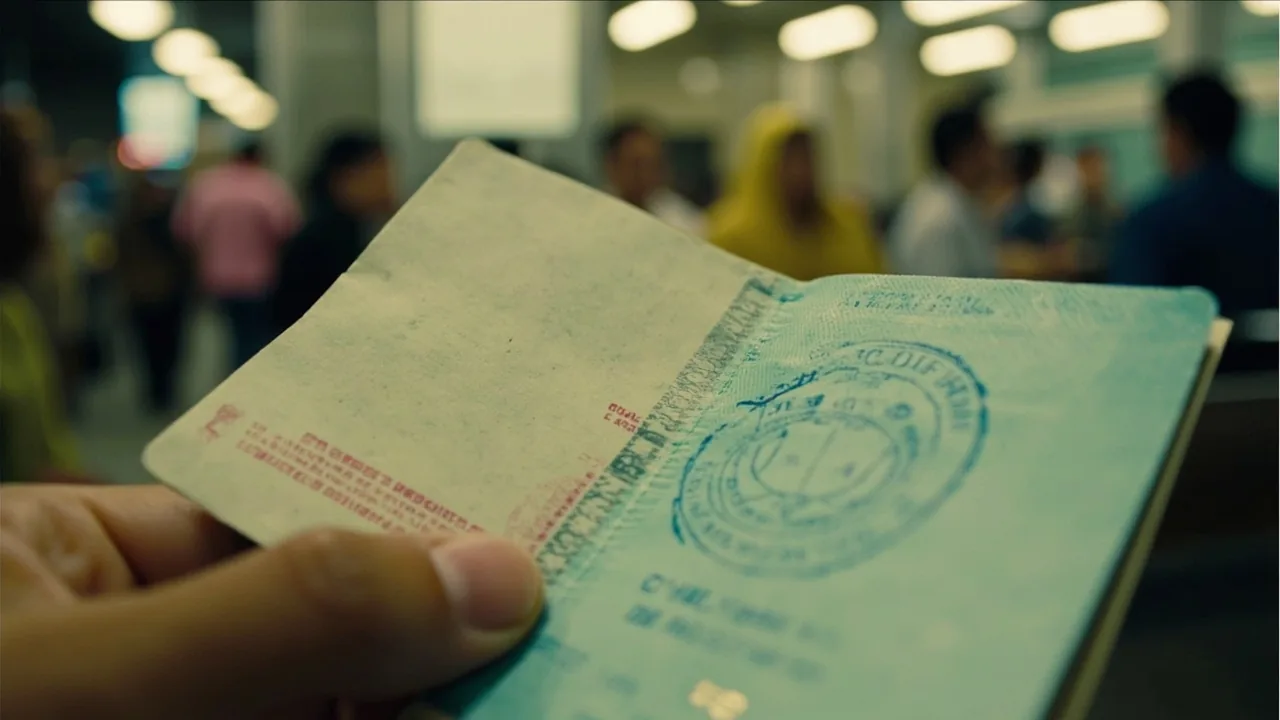
Step 5: Get the stamp. The officer writes a date exactly 30 days from your entry in your passport. Count from that date, not from your flight. The stamp date reflects the calendar day of entry regardless of your actual arrival time.
That is it. No fee at the counter. The visa-free entry is genuinely free.
The Terminal Fee Nobody Tells You About
This is the line item that catches Indians off guard.
The Philippines charges a separate “terminal fee” (officially called the Passenger Service Charge on international flights) that is not included in most airline tickets from India. In 2026:
- Manila NAIA: PHP 550 (Terminal 1 and 2), PHP 850 (Terminal 3). Some airlines include this in the ticket price; verify at check-in.
- Cebu Mactan: PHP 850 (Terminal 2 international), free on Terminal 1 for some airlines.
At current rates (1 PHP = ₹1.51), PHP 550 = ₹830 (~$8.60) and PHP 850 = ₹1,283 (~$13.29). Budget roughly ₹830-₹1,283 in cash for terminal fees. Cards are accepted at most airline counters in NAIA Terminal 3 now, but carry Philippine pesos just in case.
Pro Tip: Before paying the terminal fee at a counter inside the airport, check your e-ticket. Some airlines now include this in the airfare. If you are charged PHP 850 at the counter on top of an already-paid ticket, that may be a duplicate charge. Ask at the airline desk before exiting.
How to Extend Your Stay Beyond 30 Days
This is where most guides let you down. They tell you can extend, and leave it at that. Here is the real procedure for 2026.
You have two options:
Option 1: One-month extension (the easy one)
Walk into any Bureau of Immigration (BI) main office before your 30 days are up. The main BI office is at Magallanes Drive, Intramuros, Manila, with smaller satellite offices in Cebu City, Davao, and Clark. Bring your passport, your ACR I-card (the little paper card they gave you at immigration on arrival, if applicable), and PHP 3,030 in cash.
At current rates (1 PHP = ₹1.51), PHP 3,030 = ₹4,575 (~$47.40).
The process takes 1-3 hours depending on queue. You walk out with a stamp showing a new 29-day validity, for a total of about 59 days from your original entry date.
Option 2: Long-stay extensions
If you fall in love with the islands (it happens) and want to stay longer, the initial 30-day stay can be extended in one-month increments at any BI office for PHP 3,030 per additional month, the same rate as Option 1. Some travelers re-enter on a fresh 30-day visa-free stamp instead of extending in-country. BI also offers longer-term visa categories with their own fees and paperwork; check immigration.gov.ph for the current schedule. For a step-by-step walkthrough of the extension process, see our Philippines visa extension guide for Indians.
Safety Alert: There are visa-extension fixer services around Intramuros and Makati who charge PHP 500-1,000 on top of the BI fee. They are not necessary. The BI process itself is straightforward if your paperwork is in order. Pay only the official fee at the cashier window inside the BI building, never to anyone who approaches you outside.
Documents You Need at Immigration
Beyond your passport, here is what makes the line move faster:
- Passport valid 6+ months from your date of entry. This is the global standard and the Philippines is strict about it. If your passport expires in February 2027 and you fly in July 2026, you are fine. If it expires in December 2026, you get turned around at check-in in India.
- Confirmed return/onward ticket. Screenshot or printout. They want to see you leave.
- Hotel booking for the first 1-2 nights. The first night’s address is enough. Hostel confirmation email works.
- Proof of funds (rarely asked). In practice, the officer almost never asks. If they do, an ATM withdrawal receipt or forex card statement showing a comfortable travel budget works.
- Yellow fever vaccination certificate. Only if you are coming from a yellow-fever endemic country. Direct flights from India do not require this. If you are transiting through a yellow-fever country (parts of Africa, South America), get the certificate before flying.
Common Mistakes Indians Make at Philippine Immigration
These are the four scenarios that come up most often at NAIA:
Mistake 1: Telling the officer “I might stay 40 days.” The officer will stamp you for 30 days and you now have to extend. If you want 30 days plus an extension, just say “30 days, I will extend at BI” and they stamp you in normally. If you say you have a flexible plan, you get flagged for questioning.
Mistake 2: Not having a return ticket booked. The cheapest mistake to fix is the return ticket. Buy a fully-refundable onward ticket for 31 days out. Some travel insurance providers also generate proof of onward travel letters.
Mistake 3: Booking the cheapest hostel in Tondo or Pasay for the first night because Manila “doesn’t matter.” The officer may ask for your address. Tondo is a real Manila district with a rough reputation; the officer knows this. Book one night in Makati, Ermita (near Intramuros), or BGC for your arrival address. You can move to a cheaper area the next day.
Mistake 4: Wearing too much gold/jewelry at the immigration counter. Keep the jewelry minimal, dress in plain clothes, and have your documents ready. The line moves faster and the questions are shorter when you look prepared.
Where the 30-Day Stamp Fits in Your Philippine Itinerary
If you are spending less than 30 days in the Philippines, the visa-free stamp is all you need. Here is how 30 days usually breaks down for a first-timer:
| Days | Region | Where |
|---|---|---|
| Days 1-3 | Manila | Arrival, Intramuros (Fort Santiago, San Agustin Church), Binondo (Chinatown), settle in |
| Days 4-7 | Cebu | Cebu City (Magellan’s Cross, Basilica del Santo Niño) + day trips (Oslob whale sharks, Moalboal sardine run) |
| Days 8-12 | Bohol | Chocolate Hills, tarsiers, Loboc River, Panglao beach |
| Days 13-17 | Palawan | El Nido (Big Lagoon, Small Lagoon, Nacpan Beach) or Coron island-hopping (Kayangan Lake, Barracuda Lake) |
| Days 18-22 | Siquijor | Siquijor island (Cambugahay Falls, Salagdoong Beach, the “mystical” island). Eat at Hill-Top Cuisine for panoramic views. |
| Days 23-26 | Siargao | Cloud 9 surfing, Sugba Lagoon, Magpupungko tidal pools |
| Days 27-30 | Manila | Return, last-minute shopping, fly out |
That is the standard route through the Philippines for first-timers. If you skip one region, you have slack for the others. If you want to add Boracay, swap it for either Siquijor or shorten Siargao. For budget transport options between islands (ferries, buses, and vans), see our Philippines inter-city transport guide.
Getting Connected Once You Land
A tourist SIM from Globe or Smart at the airport counter is PHP 50 (~₹75 / ~$0.78) for the basic 7-day plan. Data add-ons are available separately if you need more than the base allowance. Both have booths right after customs at NAIA. This is the simplest way to have data the second you walk out. For a deeper dive on SIM options and eSIM alternatives, see our Philippines SIM card guide.
For solo travellers especially, reliable data is non-negotiable: Grab (the Southeast Asian Uber) requires it, Google Maps is essential, and you want to check in with family without hunting for WiFi. If your phone supports eSIM and you want data the moment you land before even queuing for the SIM booth, eSIM plans covering Manila, Cebu, and the major island airports are available from regional providers. Compare SIM vs eSIM options in our Philippines eSIM and pocket WiFi guide.
Where to Stay on Your First Night in Manila
Most immigration officers want a Manila address, and you will need a real hostel/hotel for at least one night. Malate/Ermita near Intramuros is walkable to the Bureau of Immigration office for visa extensions and close to the airport. For your first night, book a hostel in Makati or Ermita where the officer will recognize the area name. For Indian food, Royal Indian Curry House - Quezon City and Queens at Bollywood - Halal Indian Restaurant - BGC are reliable options. BGC also has hostels and coworking spaces if you plan to work remotely.
If You Need to Extend the Stamp Inside the Philippines
The Bureau of Immigration main office in Intramuros, Manila handles all extensions. Smaller satellite offices in Cebu City and Clark (near Angeles) also process 1-month extensions if you happen to be in those areas. Bring:
- Passport
- ACR I-card (if you received one on arrival)
- PHP 3,030 in cash (₹4,575 / ~$47.40)
- Two 2x2 photos (some offices have a photographer outside for PHP 50-100)
- A photocopy of your passport bio page
The whole process for a one-month extension is about 2 hours if you arrive at opening (7:30am weekdays). It is faster in Cebu than in Manila.
What If You Overstay?
Overstaying a Philippine visa costs PHP 500 per month of overstay, plus an additional PHP 1,000-2,000 processing fee at the airport when you try to leave. At current rates (1 PHP = ₹1.51), PHP 500 = ₹755 (~$7.82) per month.
Worse than the fine: overstaying can get you flagged and denied entry on your next trip. If you realize you are going to overstay, walk into a BI office at least 3-5 days before your visa expires. Last-minute fixes at the airport cost three times as much.
FAQ
Do Indians need a visa for the Philippines in 2026? No. Indian passport holders get visa-free entry for 30 days. No embassy visit, no application fee.
Can Indians get a visa on arrival in the Philippines? Strictly speaking, no. The Philippines does not have a separate “visa on arrival” for Indians. The 30-day visa-free entry you get at the counter is the same stamp everyone calls “visa on arrival.” If you need more than 30 days, you extend it after entering, not at the airport.
How long can Indians stay in the Philippines? 30 days on the initial stamp, extendable at any BI office for PHP 3,030 per additional month. Most Indians stay 30-60 days total.
Is the Philippines safe for solo Indian travelers? Generally yes. Petty theft (phone snatching in crowded Manila areas, bag slashing on jeepneys) is the main risk, not violent crime. The Philippines is also one of the easier Southeast Asian countries to meet other backpackers because English is widely spoken. See our full Philippines safety guide for Indian travelers for city-by-city tips.
Can I work remotely from the Philippines on the 30-day visa-free stamp? Technically no, the visa-free entry is for tourism. In practice, many digital nomads work from cafés and hostels without issues, as long as they do not actively engage with Philippine clients or sign local contracts. For longer remote work, a long-stay visa category from BI is the practical path.
What happens if my passport is damaged or has less than 6 months validity? You will be denied boarding at your Indian departure airport, not at Manila. Check your expiry date before you fly. Renew your passport in India if it expires within 6 months of your trip.
The Bottom Line
Based on published Bureau of Immigration rules and traveler reports, the visa-free entry for Indians is one of the smoothest in Southeast Asia. There is no secret fee, no special form, no invitation letter. Just a stamp and a date. The only thing that genuinely costs extra is the airport terminal fee (₹830-₹1,283 / ~$8.60-$13.47) and any extension you choose to buy (PHP 3,030/month = ₹4,575 / ~$47.40). If your itinerary fits in 30 days, this whole guide could be one sentence: show up with 6-month passport validity and a return ticket. The rest is just there in case you decide you want to stay longer, which, fair warning, you probably will.
From Manila you can day-trip to Intramuros (Fort Santiago, San Agustin Church), ride a jeepney to Binondo for the oldest Chinatown in the world, or take a Grab out to Makati and BGC for cafés and coworking spaces. Out of Cebu City, the most popular side trips are the Oslob whale sharks and the Moalboal sardine run in Moalboal. If you want a quieter cultural stop before pushing on to Palawan or Siargao, Siquijor island has beaches, waterfalls, and a low-key backpacker scene. Eat at Hill-Top Cuisine for sunset views. For Indian food anywhere in the Philippines, Seven Mannah Indian Fusion Food is a solid pick, especially the chicken biryani.