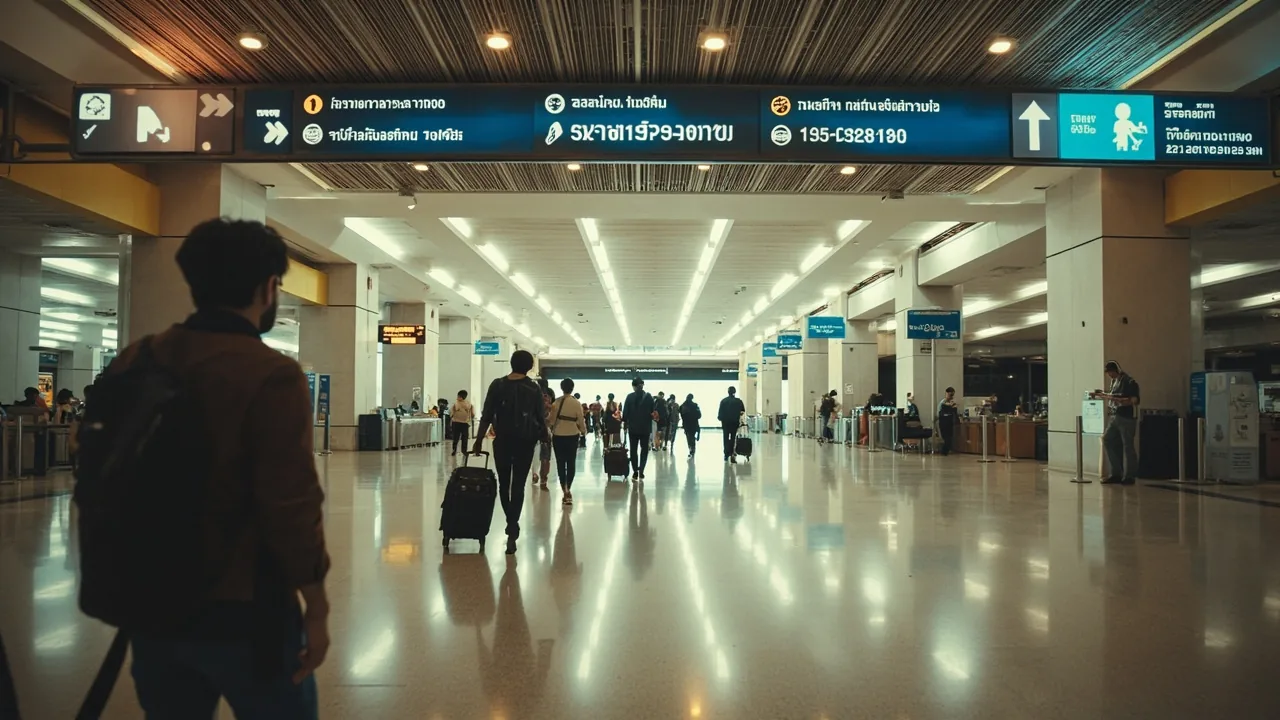
What to Do at Suvarnabhumi Airport When You Land
This Suvarnabhumi airport guide walks you through the floor, from the gate to your taxi, train, or hotel bed.
Quick Answers
| What | Answer | Price (INR) |
|---|---|---|
| Visa status (Indian passport) | Bilateral visa-free (60 days), TDAC required before boarding | Free |
| Tourist SIM card (AIS, 8 days, 15 GB) | True Move / AIS / dtac counters in arrivals hall | ₹859 (~299 THB or ~$8.91) |
| Airport Rail Link (ARL) to Phaya Thai | Cheapest way to central Bangkok, ~30 min | ₹129 (~45 THB or ~$1.34) |
| Public taxi to Khao San / Sukhumvit | Use public meter taxi queue, not touts | ₹861-₹1,149 (~300-400 THB or ~$8.94-$11.91) |
Suvarnabhumi Airport Map: Terminals, Gates, Meeting Points
Suvarnabhumi has a single terminal building that most travellers call “the airport.” It’s shaped like a giant plus sign with a central concourse and four concourses (A, B, C, D) sticking out. There is no “Terminal 2” for passengers yet; the Thai government announced a satellite terminal (SAT-1) opening in phases, but as of mid-2026 the main terminal handles every international and domestic flight.
Arrivals floor (Level 2, also marked B): Walk off the jet bridge, follow the green “Immigration / Passport Control” signs. After immigration, you hit the baggage hall. After baggage, you pass customs (most Indians walk straight through the “Nothing to Declare” lane), and then you exit into the public Arrivals Hall.
Departures floor (Level 4, also marked D): This is where you check in for your outbound flight, drop bags, and go through Immigration and security. Most transit passengers move between Level 2 arrivals and Level 4 departures via escalators or lifts at the central core.
Meeting points: The actual physical meeting point that every Bangkok airport pickup sign uses is the “Information Counter” just outside Exit A or Exit B. Don’t wander further than this; the hall has no benches, and Grab drivers can’t legally stop at the kerb outside (the airport bans ride-hailing kerb pickups, see the safety note below).
Gates: International gates sit in Concourses D, E, F, G (the long eastern arm). Domestic gates are in Concourse A. Concourses B and C are mostly lounges and offices.
Floor map PDF: Airports of Thailand publishes an official PDF map on their corporate site. Search “AOT Suvarnabhumi floor map PDF” and you’ll get the current version with concourse letters and gate ranges. Print it the night before if you have a tight connection.
How Long to Budget for Arrival, Layover, and Immigration
| Scenario | Minimum time | Realistic buffer |
|---|---|---|
| Immigration + baggage + SIM + train to city | 45 min | 90 min |
| Self-transfer (international to international, same airline) | 2 hours | 3 hours |
| Self-transfer (different airlines, no checked bag) | 3 hours | 4 hours |
| Visa on Arrival + immigration + baggage | 75 min | 120 min |
Indian passport holders qualify for Thailand’s bilateral visa-free entry (60 days, extendable by 30 days) — you do not need a VOA for most trips. The TDAC digital arrival card is mandatory for all entry types; complete it online before boarding. If you arrive without a TDAC or pre-approved e-visa, the VOA counter is available (₹5,743 / 2,000 THB, 15 days only). The VOA line at Suvarnabhumi takes 30 to 60 minutes during peak hours (08:00-11:00 and 17:00-21:00), so if you’re on a long layover and considering popping out for a temple visit, give yourself three hours minimum or skip it. For a 4-hour layover, stay airside. For a 6-hour layover, you can do immigration, eat, and walk around, but the city is 45 minutes away by train, so don’t try a city sprint unless you have a 9-hour buffer.
Step 1: Visa on Arrival at Suvarnabhumi
Most Indian travellers enter visa-free (60 days, bilateral agreement) with a completed TDAC digital arrival card. If you did not complete the TDAC online before boarding, walk to the Visa on Arrival area on your left before passport control. You cannot miss it; there are signs in English and Hindi.
Documents at the VOA counter:
- Printed hotel booking for at least the first night (real address, not “TBD”)
- Confirmed return/onward ticket printout
- One passport-size photo (4x6 cm, white background), if you forget, there’s a photo booth next to the VOA counter for ₹287 (~100 THB or ~$2.98)
- Completed TM.6 arrival card (issued on the plane, or grab blank forms from the desk)
- Blue or black pen in your cabin bag
Fee: ₹5,743 (~2,000 THB or ~$59.57) cash, Thai baht only. The counter does not accept forex cards, USD, or INR. Carry a small stash of ₹5,743 (~2,000 THB or ~$59.57) before you land (change some at the Indian airport departure lounge).
Processing time: 5 to 15 minutes at the counter, then you join the regular immigration queue.
If you already have a pre-approved e-visa, skip the VOA section entirely and go straight to passport control. The e-visa queue is faster.
Step 2: SIM Card and Connectivity in Arrivals
After customs, you’ll walk into the public Arrivals Hall. The three official counters sit along the wall facing you:
| Provider | Tourist SIM (8 days) | 4G/5G data |
|---|---|---|
| AIS | ₹859 (~299 THB or ~$8.91) | 15 GB |
| TrueMove H | ₹859 (~299 THB or ~$8.91) | 15 GB |
| dtac (now merged with True) | Limited counter availability |
All three require your passport for registration (Thai SIM rules). For a full comparison of Thai SIM cards and eSIMs, see our Thailand SIM card guide.
If you don’t want to queue, Get Nomad eSIM activates before you even board the connecting flight. Scan the QR at 30,000 feet, and you land with data already running. Useful when immigration queues move slowly and you want to message your hostel.
Step 3: Money Exchange and ATM
The official exchange counters (SuperRich, Vasu, Twelve Victory) sit between Exit A and Exit B. Rates here beat the city by ₹1-₹1 (~0.30-0.50 THB or ~$0.01-$0.01) per unit, so changing ₹19,281-₹28,921 (~200-300 USD) here for the taxi + first meal is sensible. If you’re shopping, read our Thailand VAT refund guide to claim your 7% VAT back at the airport on departure.
ATM tip: There are six ATMs in the arrivals hall. Use the ones marked by your bank (HDFC, ICICI, SBI) for the lowest forex markup. Standard Thai ATM fee is ₹632 (~220 THB or ~$6.55) per withdrawal, on top of your bank’s INR markup. Withdraw ₹14,358 (~5,000 THB or ~$148.93) at a time to keep fee-per-baht low. For a full comparison of ATM fees across Southeast Asia, see our ATM fee comparison guide.
Step 4: Getting to Bangkok (or Sleeping at the Airport)
Option 1: Airport Rail Link (cheapest, ₹129 (~45 THB or ~$1.34))
The ARL station sits at the basement of the terminal. Take the escalator down at the far end of the Arrivals Hall, follow “Airport Rail Link” signs, buy a token from the machine (English menu, accepts 5/10/20/50/₹287 (~100 THB or ~$2.98) notes). Train runs 06:00 to 24:00 daily.
- To Phaya Thai (connects BTS Skytrain): ₹129 (~45 THB or ~$1.34), 30 min
- To Krung Thon Buri (for the older part of town): ₹129 (~45 THB or ~$1.34), 30 min
- To Don Mueang for a connecting domestic flight: combined ARL + Red Line, 90 min, ~₹215 (~75 THB or ~$2.23) total
This is what most backpackers use. The train is air-conditioned, never stuck in traffic, and lands you on the BTS network. From Phaya Thai, a BTS ride to Khao San area (via taxi from Ratchathewi) costs ₹101 (~35 THB or ~$1.04) on the Skytrain.
Option 2: Public Meter Taxi (~300-400 THB)
Outside Exit 4, there’s an official Public Taxi queue with a staffed desk. Tell them your destination, they give you a printed slip with a queue number, you wait 5 to 15 min, then follow the arrows to the kerb. The driver uses the meter; airport surcharge is ₹144 (~50 THB or ~$1.49).
Do not accept offers from “taxi drivers” inside the hall or at the kerb. These are the ₹2,010 (~700 THB or ~$20.85) touts. Only use the Public Taxi desk.
Option 3: Grab / Bolt (no kerb pickup, use designated point)
Suvarnabhumi technically bans ride-hailing kerb pickups, but every traveller uses them. Walk to Level 1 (arrivals kerbside at Exit 3 or 4) and order from the kerbside waiting area. The driver calls when they arrive, you walk to the pickup point marked on the map. Fares are similar to public taxi (₹861-₹1,436 (~300-500 THB or ~$8.94-$14.89) to central Bangkok).
Option 4: Sleeping at Suvarnabhumi (4-hour or 6-hour layover)
For a 4-hour overnight snooze, Suvarnabhumi is one of the more comfortable airports in Southeast Asia to crash in. Air conditioning is cold, seats are mostly padded benches with armrests (some without), and Wi-Fi is complimentary for up to 4 hours per day.
For a 6-hour daytime layover, you’re better off staying airside: free showers near Gate D5 (ask information desk for the day-room key, ~300 THB for 60 min), free Wi-Fi, and a small food court on Level 4 between Concourses D and E.
For a 9+ hour layover, consider exiting and booking a transit hotel near the airport. Several hostels and budget hotels in Lat Krabang run day-use rooms (8-hour packages) for ₹1,436-₹2,584 (~500-900 THB or ~$14.89-$26.81). Travellers report these work well for shower, nap, and re-entry before an evening flight.
Food at Suvarnabhumi (Before Going Through Immigration, or After)
If you have a long layover and want to eat, food choices depend on whether you’re airside (after security, between gates) or landside (before security, public area).
Airside (post-security):
- Burger King, Starbucks, Subway: chain prices, ₹431-₹861 (~150-300 THB or ~$4.47-$8.94)
Landside (public area):
- Several 7-Elevens and Family Marts (24 hours) for onigiri, sandwiches, and instant noodles (₹57-₹230 (~20-80 THB or ~$0.60-$2.38))
For your first proper Thai meal in the city (not at the airport), these spots in central Bangkok are worth the ride:
- Jim Thompson, A Thai Restaurant (4.8): traditional Thai setting, near the Jim Thompson House museum, central Bangkok
- Aonchorn Thai restaurant ออนชอน ราชดำเนิน (4.9): local Thai restaurant with authentic flavors, Khao San area
- The Island Bangkok (4.9): Thai spot with great ambiance and popular dishes
If you need a dal-chawal break after the flight, head to:
- Indique (4.9): Indian fine dining at around ₹1,350 (~14 USD) per person, butter chicken is the pick
- Shree Gangour Pure Veg Restaurant Bangkok (4.9): pure vegetarian, popular with the Indian community
- Amritsr Restaurant Sukhumvit Soi 22 (4.8): stuffed parathas, North Indian, ₹2,872-₹5,743 (~1,000-2,000 THB or ~$29.79-$59.57) per person
First 24 Hours in Bangkok: The Quick Version
If you’re heading into the city after a daytime arrival, here’s the most efficient first afternoon:
- Immigration + SIM + cash (45 to 75 min)
- ARL train to Phaya Thai (₹129 (~45 THB or ~$1.34), 30 min)
- BTS Skytrain to your hostel area (₹101-₹172 (~35-60 THB or ~$1.04-$1.79))
- Check in, shower, change
- Eat at one of the restaurants above
- Walk Khao San Road or Sukhumvit at night
For a more detailed hour-by-hour plan, see our first 24 hours in Bangkok guide.
What Most Indian Travellers Get Wrong at BKK
1. They overpay the VOA fee. The official fee is exactly ₹5,743 (~2,000 THB or ~$59.57). Anyone charging “extra” is a scammer at the unofficial desk near the official counter. Walk past anyone who calls out “Visa, sir?”
2. They don’t carry a pen. You’ll fill a TM.6 arrival card on the plane, but if you miss it, you need a pen to fill the blank forms at the desks before immigration. Don’t count on the immigration officer having a spare.
3. They grab a tourist SIM without asking about 5G. The standard ₹859 (~299 THB or ~$8.91) tourist SIM is 4G, capped at 15 GB. If you stream or hotspot often, ask for the 5G upgrade (₹1,433 (~499 THB or ~$14.86)) or just use the Nomad eSIM and skip the queue.
4. They don’t print documents. Thai immigration has been asking Indian travellers for hotel + return ticket printouts more often than before. Screenshots on your phone work, but printouts are safer.
5. They exit via the wrong door. Exit A (left) lands you closer to the public taxi queue. Exit B (right) lands you closer to the ARL station and exchange counters. Pick before you walk.
Safety and Scams at Suvarnabhumi
Suvarnabhumi is a safe airport. The most common issues are:
- Touts offering “discount” taxis inside the hall (use only the Public Taxi desk at Exit 4)
- Unofficial SIM card sellers with inflated prices (use only the AIS/TrueMove counters in arrivals)
- “Currency exchange” kiosks with bad rates (use SuperRich or your bank’s ATM)
- Luggage theft at the baggage carousel is rare but happens; use TSA locks and don’t leave bags unattended
For broader Bangkok safety context and any current advisories, check the official MEA travel advisory page at mea.gov.in before departure, and review Thailand’s own tourism safety portal once you’re on the ground. See also our is Thailand safe for Indian travellers guide.
FAQ
Do I need a photo for Thailand Visa on Arrival? Yes, one 4x6 cm photo, white background. If you forget, the booth next to the VOA counter makes them for ₹287 (~100 THB or ~$2.98).
Is the VOA fee accepted in INR or by card? No. Only Thai baht, ₹5,743 (~2,000 THB or ~$59.57), exact cash. Bring it with you.
Can I use Grab at Suvarnabhumi? Yes, but not at the kerb directly. Order from the designated ride-hailing area on Level 1, Exit 3 or 4.
How long does immigration take at BKK? 20 to 60 minutes depending on hour. VOA adds another 30 minutes to that. Peak hours: 08:00-11:00 and 17:00-21:00.
Are there showers inside the airport? Yes, post-security near Gate D5 on Level 4. About ₹861 (~300 THB or ~$8.94) for 60 minutes; towels and toiletries included.
Where is the official meeting point for hotel pickups? The Information Counter just outside Exit A or Exit B. Drivers wait at the kerb; you meet them at the counter.
Is Suvarnabhumi the same as Bangkok airport? Yes, BKK = Suvarnabhumi. DMK = Don Mueang, the older domestic-heavy airport used by AirAsia and Nok Air.
Subodh’s Take
The single most useful thing you can do before landing is screenshot your hotel address in both Thai and English. Bangkok’s street names are in Thai script on every taxi sign, every Grab map, every delivery app. If you can show the driver a Thai-script address on your phone, you’ll skip ten minutes of pointing and head-scratching. The second most useful thing: bring a small umbrella in your daypack. Bangkok’s rain season is genuinely wet, and the walk from the airport train to your hostel can turn into a swim if you don’t.
Travel Insurance: Get travel insurance before you fly — it covers medical expenses, trip interruption, and evacuation across Southeast Asia.