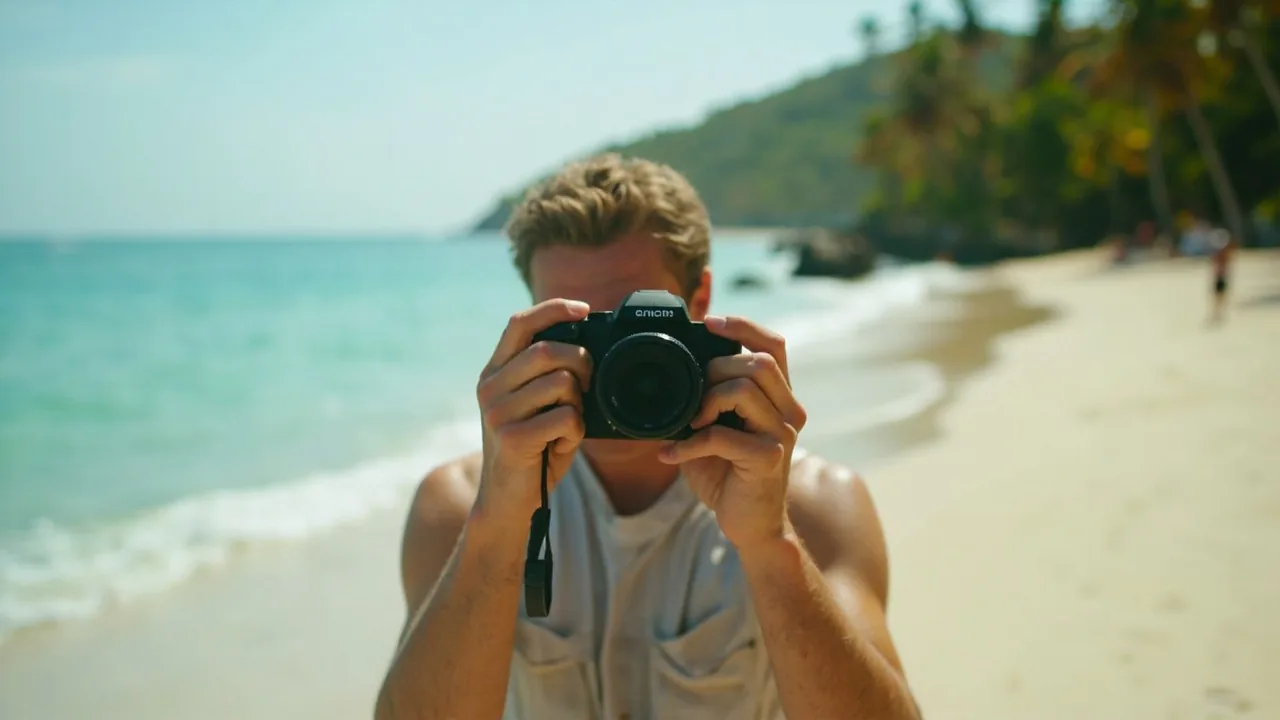
Southeast Asia Photography Tips for Backpackers (2026)
You don’t need a fancy camera to get sharp, colourful sea shots in Southeast Asia. A phone with manual controls, the right time of day, and a few settings tweaks will cover 90% of what backpackers want. This guide covers gear, settings for tropical light, and specific shot ideas for beaches, islands, and fishing villages. For related planning, see our guides on Sea Backpacking Hub and 7 Days Thailand Tour Package Price.
Quick Answers
| What | Answer | Price (INR) |
|---|---|---|
| Best camera for backpackers | Phone (iPhone 12+ / Pixel 6+) or used mirrorless | ₹0 (phone) to ₹25,000 (~$259.50) |
| Best time of day for sea shots | Golden hour (1 hour after sunrise / before sunset) | , |
| Ideal aperture for landscapes | f/8 to f/11 | , |
| Ideal aperture for portraits | f/1.8 to f/2.8 | , |
| Best free editing app | Snapseed (Android/iOS) | Free |
| Tripod needed? | Only for long exposures at night | ₹800 (~$8.30) |
| Dry bag for gear | Recommended in monsoon season | ₹600 (~$6.23) |
| SIM card for uploading on the go | AIS (Thailand), Viettel (Vietnam) | ₹855 (~299 THB or ~$8.87) / ₹734 (~200,000 VND or ~$7.62) |
What Camera Should You Carry?
For most backpackers, the answer is the phone already in your pocket.
Phones work great for sea photography because modern flagships handle the harsh contrast of bright sky + dark water better than budget mirrorless cameras. IPhone 12 and later, Pixel 6 and later, and Samsung S21 and later all shoot RAW and have manual controls buried in the settings (or via apps like ProCamera, Lightroom Mobile, or the built-in “Pro” mode on Chinese brands like Xiaomi/Realme). You may also find Average Spend in Thailand Per Day useful for this trip.
If you want a dedicated camera, a used Sony A6000 (around ₹18,000-25,000 in India’s second-hand market) with a kit lens covers everything from wide beaches to tight portraits of fishermen. Pair it with a single prime lens (Sony 50mm f/1.8, around ₹8,000 used) for night and low-light shots. See also: How Much Money Do I Need for 5 Days in Thailand.
Skip DSLRs. They’re heavy, attract attention, and have no real advantage over mirrorless for travel work. For related planning, see our guide on What to Do in Thailand for 7 Days.
Subodh’s Pro Tip: Shoot RAW, not JPEG. RAW files let you recover blown-out skies and crushed shadows later in editing. Phones store them as .DNG files (Android) or in the ProRAW setting (iPhone). The files are larger (around 25-40 MB each), so bring a spare 128 GB SD card.
Essential Settings for Tropical Sea Light
Southeast Asian light is different from European light. The sun is more direct, the humidity softens everything, and the contrast between sky and water is extreme. Here’s how to dial it in.
White Balance
Set it manually instead of using Auto.
- Midday sun: 5500-5800K (cooler, reduces yellow cast)
- Golden hour: 4500-5000K (warmer, keeps that orange glow)
- Overcast / monsoon: 6500-7000K (cooler, compensates for grey sky)
- Underwater shots: Auto is fine, the colour cast is too complex to fix manually
If you’re on a phone, tap the WB icon in Pro mode and dial in these Kelvin values. If you’re lazy, set it to “Cloudy” preset and warm it up later in Snapseed.
Aperture
This controls how much of your scene is sharp.
- Beach landscapes: f/8 to f/11. Both the foreground sand and distant horizon will be sharp.
- Portraits (people, fishing boats): f/1.8 to f/2.8. Blurs the busy background.
- Night shots / star trails: f/2.8 or wider. Lets in more light.
Most kit lenses max out at f/3.5 at the wide end, which is fine for everything except night sky.
Shutter Speed
Match it to what you’re shooting.
- Static landscape: 1/125s or faster
- Waves with motion blur: 1/4s to 2s (needs tripod)
- People walking: 1/250s
- Silky water effect: 10-30 seconds (tripod mandatory)
For “silky water” shots (the milky, smooth look on Instagram), you need an ND filter. A cheap ₹500 (~$5.19) ND8 or ND64 screw-on filter works on most phone lenses via a clip-on adapter.
ISO
Keep it low.
- Bright sun: ISO 100-200
- Golden hour: ISO 400-800
- Overcast: ISO 800-1600
- Night: ISO 3200-6400 (accept the grain)
Modern sensors handle high ISO well, but grain becomes visible around ISO 6400 on most phones and older cameras. For the cleanest shots, push shutter speed down instead of ISO up.
Focus
Use single-point AF or manual focus.
- Landscapes: Focus on the horizon, or one-third into the scene
- Portraits: Tap the face on phone, or use eye-AF on Sony/Canon
- Macro (shells, small crabs): Manual focus, focus-peaking on
Auto-focus often hunts in humid, salt-air conditions. Wipe your lens with a microfibre cloth every few shots.
Creative Sea Photography Ideas
These are the shots that work specifically well in Southeast Asia, beyond the generic “beach with palm tree” stuff.
1. Long-Tail Boats at Sunrise
In Thailand (Railay, Koh Lanta, Krabi), boats leave the beach at 5:30-6:30 AM. Shoot them heading out to sea against the orange sky. Get low, put sand or a fishing net in the foreground, use f/8 and a fast shutter (1/500s+) to freeze the water spray.
2. Fishing Villages at Work
Vietnam’s Mui Ne, Cambodia’s Kep, and parts of southern Thailand have traditional fishing fleets that return mid-morning. Shoot the boats being hauled up, the sorting of catch, the repair of nets. Available light is harsh by 10 AM, so get there early. Use burst mode to catch the peak action.
3. Underwater Shots Without an Underwater Camera
Put your phone in a ₹600 (~$6.23) waterproof pouch (available at every 7-Eleven and beach stall in Thailand/Vietnam) and shoot from just below the surface. The refraction effect at the waterline creates dramatic split shots. Use a wide phone lens if you have one, and shoot in Pro mode with WB set to auto (the colour cast is too complex to fix manually).
4. Monsoon Storms
The rainy season (roughly June-October on the Andaman coast, November-February on Vietnam’s central coast) gives you dramatic skies for free. Shoot the squall line approaching from the horizon, with the foreground beach in golden light. Use a slow shutter (1/15s) for lightning shots on a tripod, or expose for 30 seconds and let the lightning write itself across the frame.
5. People in the Sea
Local kids and fishermen will often swim or paddle just offshore. Use a telephoto (200mm+) from the beach to compress the scene. Get their silhouette against the water for the cleanest composition. Telephotos cost more, but the Xiaomi 14 Pro and Samsung S24 Ultra phones have usable 5x-10x zoom for this.
6. Food on the Beach
Vietnam’s coastal noodle carts, Thailand’s beach BBQs, Cambodia’s grilled squid stalls. Get close (within 30 cm), use f/2.8, and shoot in the shade or during golden hour. Midday food shots on white plates are the worst.
7. Long-Exposure Water at Night
Tide pools, pier lights, and bioluminescence (Koh Lanta, Koh Rong in Cambodia) all need 10-30 second exposures. You need a tripod. A cheap ₹800 (~$8.30) mini tripod on a rock or balanced on your bag works fine.
Editing Your Sea Photos
Don’t over-edit. Southeast Asia is already colourful; pushing saturation makes it look cartoonish.
Snapseed (free, Android + iOS) covers 90% of what backpackers need:
- Tune Image: +15-25 brightness, -10 shadows, +20 contrast
- Details: +20 structure (brings out water texture), +10 sharpening
- Vibrance: +15 to +25 (saturation without making skin tones orange)
- Curves: Lift the shadows slightly for a film look
Lightroom Mobile (free tier available) if you shoot RAW:
- Apply the same adjustments as above
- Use the masking tool to dodge the sky and burn the foreground independently
What to skip: Heavy HDR (looks dated), heavy vignetting (looks like 2014 Instagram), and pre-made “tropical” filters (they turn skin yellow).
Common Mistakes Backpackers Make
Mistake 1: Shooting only in midday
The sun is overhead between 10 AM and 2 PM in tropical latitudes. Shadows are harsh, colours are flat, and your photos look the same as everyone else’s. Wake up early or shoot late.
What happens: Your photos are overexposed, blown out, and have no mood. Fix: Shoot within 1 hour of sunrise or sunset.
Mistake 2: Leaving the lens dirty
Salt spray, sand, and finger grease are constant on the coast. You don’t see them on the bright LCD outdoors, but they ruin contrast.
What happens: Soft, hazy photos with low contrast. Fix: Wipe the lens with a microfibre cloth every 10-15 minutes. Keep one in a dry bag.
Mistake 3: Not backing up photos
Phones get stolen, dropped in the sea, or die. A Thai beach is the worst place to lose your only copy of the trip.
What happens: You lose all your photos. Fix: Set up Google Photos or iCloud auto-upload before you leave. Free tiers cover 15 GB which is enough for a 3-week trip if you shoot JPEG. For RAW shooters, pay for 100 GB (₹130/month).
Mistake 4: Forgetting the dry bag
Monsoon rain hits suddenly. Salt water gets into everything.
What happens: Camera dies, phone dies, memory cards corrupt. Fix: Keep all electronics in a dry bag or zip-lock when not actively shooting. Cost is ₹400-₹800 (~$4.15-$8.30).
Mistake 5: Not asking permission for portraits
Southeast Asian fishermen and villagers are often happy to be photographed but expect to be asked first.
What happens: Awkward encounters, occasional conflict, and missed shots anyway. Fix: Smile, point at your camera, and wait for the nod. Learn “Can I take a photo?” in Thai (“ถ่ายรูปได้ไหมครับ”), Vietnamese (“Chụp ảnh được không?”), and Khmer (“អញ្ចឹងថតរូបបានទេ?”).
What Most Guides Don’t Tell You
Salt air kills gear faster than you think
Corrosion on lens mounts, battery contacts, and card slots is the silent killer. After every beach day, wipe down the camera body with a damp cloth, dry it, and store it in a sealed bag with a silica gel sachet. Replace the sachet monthly.
Your phone’s “AI scene detection” is making it worse
That little leaf or sunset icon means the phone is oversaturating and sharpening aggressively. Turn off AI scene optimisation in your camera settings. The photos look more natural, and you can edit them properly later.
The best sea shots are 80% planning, 20% camera
Know your tide times, know your sunrise/sunset direction, know where the boats come in. Tide-forecast.com and PhotoPills (paid app, ₹700 (~$7.27)) both show sun direction and tide charts by location. Ten minutes on these apps before a shoot beats any gear upgrade.
FAQ
Do I need a GoPro for sea photography?
Only if you specifically want underwater shots or helmet-mounted point-of-view footage. Phones in waterproof pouches handle casual underwater and snorkel shots well enough for Instagram. A GoPro Hero 12 costs ₹30,000 (~$311.40)+ in India.
How do I shoot the bioluminescent beaches in Koh Rong?
It’s best done on a dark, moonless night. Use a tripod, set ISO 3200, f/2.8, and 15-30 second exposure. Stir the water with your hand or kick your feet to trigger the glow. The glow is faint, so expect grain.
Is it safe to bring my camera on boat trips?
Yes, but put it in a dry bag in the boat. Salt spray and sudden rain will kill unprotected electronics. A simple ₹600 (~$6.23) roll-top dry bag from any outdoor shop works.
What’s the best free editing app?
Snapseed, hands down. It has more features than most paid apps and is completely free.
Can I fly with camera gear in my cabin luggage?
Yes. Keep cameras and lenses in your cabin bag, not checked luggage. Pressure and rough handling in the hold can damage lens elements. Lithium camera batteries must also be in the cabin.
Subodh’s Take
Most backpacker sea photos look the same because most backpackers shoot at the same time of day, in the same tourist spots, with the same phone settings. The edge is in showing up early, showing up late, and spending five minutes on the settings above. Your phone is already good enough.