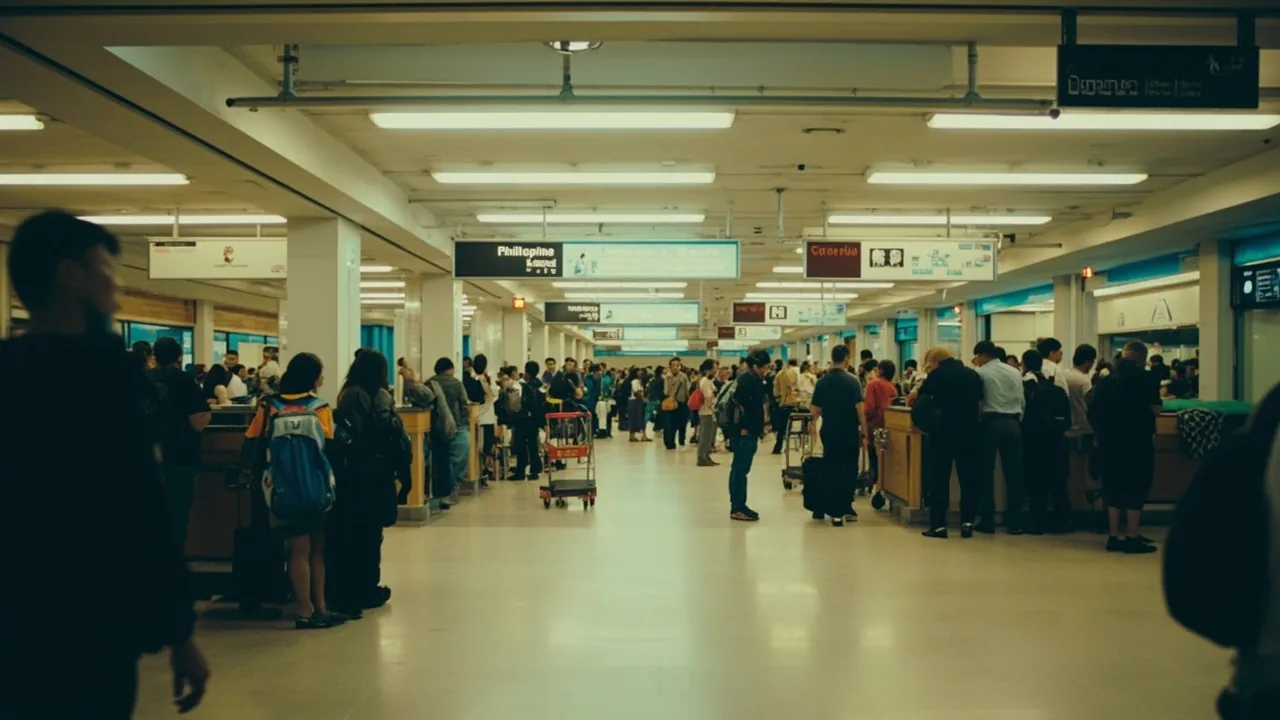
Philippines Airport Departure Procedures: The No-Nonsense Guide for Indian Travelers
Verified against traveller reports and the official NAIA and Bureau of Immigration portals on 17 July 2026. For related planning, see our guide on Cebu City to Moalboal Bus Fare Schedule.
Flying out of Manila’s NAIA (Ninoy Aquino International Airport) is the main way most Indian backpackers leave the Philippines. There are four terminals, each handling different airlines, and a mandatory eTravel registration that catches first-timers off guard. If you’ve spent two or three weeks island-hopping from Cebu to Palawan and now need to fly back to India or onwards to Bangkok, Singapore, or Kuala Lumpur, this is the walkthrough that gets you through the doors without sweating. You may also find Philippines Exit Requirements Foreigners Indians useful for this trip.
Quick Answers
| What | Answer | Price (INR) |
|---|---|---|
| Mandatory pre-departure step | eTravel QR code (within 72 hours of flight) | Free |
| Recommended airport arrival time | 3 hours before international flight | ₹0 |
| Terminal fee for international departure | PHP 550-850 (built into ticket on most airlines) | PHP 550-850 |
| eSIM option for Indians | Nomad eSIM, activate before flying | varies |
| Connecting terminal transfer at NAIA | Free shuttle bus between terminals | PHP 0 |
The eTravel Registration (Do This First)
Every traveller leaving the Philippines, foreign or Filipino, must register on the official eTravel portal at etravel.gov.ph within 72 hours of departure. This replaced the old paper arrival/departure cards. No QR code at the immigration counter means you don’t fly. See also: Philippines Power Adapter Sim Card Indian Tourists.
The form takes about five minutes. You’ll enter passport details, flight number, address in the Philippines (your hostel or hotel works), and a contact email. You’ll also fill in a short health declaration, which is standard since the pandemic era and rarely queried further. Once submitted, you receive a QR code by email. Screenshot it, save the PDF, and keep it in your offline gallery. NAIA’s Wi-Fi is patchy, and you don’t want to be the person at immigration with no signal trying to reload an email.
Travellers report that airline check-in staff sometimes glance at the QR before issuing the boarding pass. More often, it gets checked at the immigration booth itself. Either way, have it ready before you reach the terminal door.
Quick Answers Table (continued)
| What | Answer | Price |
|---|---|---|
| Liquids in cabin bag | 100 ml per container, 1-litre clear bag | ₹0 |
| Power bank rule | Carry in cabin only, under 100 Wh | ₹0 |
| Duty-free alcohol allowance | 2 bottles, max 1 litre combined | ₹0 |
| NAIA Terminal 1 airlines | International, flag carriers | varies |
| NAIA Terminal 3 airlines | Cebu Pacific, AirAsia, ANA, JAL | varies |
The 72-Hour Departure Window: What to Tick Off
Three days before your flight, you should have these ready:
- eTravel QR code (printed or on phone)
- Boarding pass (mobile or printed)
- Passport with at least 6 months validity
- Proof of onward travel (return ticket to India or onward ticket to a third country)
- Terminal fee receipt, if not bundled into your ticket
Subodh’s Pro Tip: Take a screenshot of your return ticket and your hotel booking. Even if you’re visa-free for 30 days under the standard entry stamp, immigration officers at NAIA occasionally ask for an exit plan. A flight confirmation to Delhi, Mumbai, or Bangkok is the cleanest answer.
At the Airport: The Physical Sequence
Here’s the actual order of operations at NAIA for an international departure. The terminals differ slightly, but the sequence is the same.
Step 1: Terminal Entry and Airline Check-in
Arrive three hours before your flight for international departures. NAIA security queues can move slowly during the 6 PM to 9 PM peak when multiple wide-body flights push back around the same time. Terminal 3 (T3) handles most budget carriers including Cebu Pacific and AirAsia. Terminal 1 (T1) handles legacy carriers like Philippine Airlines, Japan Airlines, and most Middle Eastern airlines. Terminal 2 (T2) is mostly domestic and a few international routes. Terminal 4 (T4) handles domestic AirSWIFT and a few international turboprops to short-haul destinations.
At the airline check-in counter, you’ll get your boarding pass and drop checked luggage. Cebu Pacific and AirAsia are strict on baggage weight; check your allowance before arriving at the counter to avoid surprise PHP 1,500-per-kg excess fees. Pre-pay extra kilos online the day before; it’s roughly 30% cheaper than the counter rate.
Step 2: Terminal Fee Counter (If Required)
Some airlines bundle the Manila terminal fee into the ticket price. Others don’t. If your e-ticket shows “Terminal Fee: PHP 0” or “Inclusive,” skip this step. If not, there will be a small booth after check-in where you pay PHP 550 to PHP 850 in cash or card. This is a Philippine government levy and is separate from your airfare. Most Indian travellers flying Cebu Pacific or AirAsia find the fee is already included; legacy carriers occasionally leave it out. The Bureau of Immigration lists the current fee structure on its official site.
Step 3: Immigration and eTravel
This is the queue that takes the longest. Have your passport, boarding pass, and eTravel QR ready. The immigration officer will scan your QR, stamp your passport, and ask a standard question: “How long were you in the Philippines?” or “Where are you going next?” Answer directly, hand over the passport with the open visa page, and you’ll be through in under a minute once you reach the booth.
Safety Alert: NAIA has had periodic reports of unofficial “porters” or “helpers” approaching travellers near immigration with offers to skip the queue. These are not affiliated with the airport. Ignore them and join the regular line. Your eTravel QR and passport are all you need.
Step 4: Security Screening
After immigration comes security. This is where NAIA enforces its cabin-bag rules. Liquids must be in containers of 100 ml or less, all inside one clear resealable 1-litre bag. Laptops and tablets come out of the bag. Power banks go in the cabin bag, not checked luggage (the airline staff will redirect you if you’ve put one in your checked suitcase, costing you a re-check and a delay).
Dress simply. A light jacket comes off; belts with metal buckles can trigger the scanner. NAIA uses standard walk-through metal detectors; no full-body scanners at the time of writing.
Step 5: Duty-Free and Gate
Past security, you’re in the airside area. Duty-free shops in T3 include a reasonably sized liquor and tobacco outlet, plus convenience stores selling water, snacks, and last-minute toiletries. Prices are roughly 15-20% above Manila city rates, so don’t stock up on water here unless you need it for the flight. Most gates have a small cafe and a coffee counter. Free Wi-Fi is available for 60 minutes after a one-time registration with your phone number.
Boarding usually starts 45 minutes before departure. NAIA gates sometimes change at short notice; check the departure screens every 20 minutes once you’re airside.
Terminal Transfers at NAIA
If your itinerary lands you at one terminal and your connecting flight leaves from another, here’s the deal. NAIA’s terminals are not connected airside. You must clear immigration and exit, then take the free shuttle bus or a Grab to the next terminal. The shuttle runs every 20 to 30 minutes between T1, T2, and T3. Allow 90 minutes minimum for a same-terminal connection and 3 hours for a cross-terminal connection. Indian travellers flying into NAIA on Philippine Airlines (T1) and connecting to Cebu Pacific (T3) for a domestic hop to Cebu should budget the full 3 hours.
Grab from T1 to T3 costs roughly PHP 200 to PHP 300, around 15 to 25 minutes depending on traffic. The shuttle is free but slower.
Domestic to International Connection
If you’re flying in from Cebu, Boracay (Caticlan), or Palawan on a domestic flight and connecting to an international departure, plan carefully. Philippine immigration does not run a transit-without-visa programme. You clear immigration at your first international flight’s terminal, not at the domestic gate. This means:
- Domestic arrival, international departure from T1: clear immigration at T1.
- Domestic arrival at T3 (most common, Cebu Pacific), international departure from T1: exit T3, take shuttle or Grab to T1, check in at T1, clear T1 immigration.
The free shuttle between T3 and T1 is the cheapest route. Grab is faster but costs PHP 200 to PHP 300.
Common Delays and How to Dodge Them
Three things slow down Indian travellers at NAIA: eTravel confusion, terminal-fee confusion, and cross-terminal transfers.
eTravel confusion is solved by registering 48 hours before your flight, not at the airport. The portal works fine on mobile data.
Terminal-fee confusion is solved by checking your e-ticket. Search the PDF for “terminal fee,” “airport fee,” or “PHP.” If you see a non-zero number, the fee is bundled. If you see “to be paid at airport,” there’s a booth.
Cross-terminal transfers are solved by leaving 3 hours between flights, not 2. NAIA traffic around the airport circle can add 20 minutes to a Grab ride during rush hour.
Safety Alert: Before flying, check the Indian Ministry of External Affairs travel advisory for the Philippines at mea.gov.in, and the Philippines’ own Bureau of Immigration advisories. These are the official sources for any current restrictions or document changes. Avoid relying on social media or older blog posts for safety decisions.
Indian Airport Checklist (Before You Fly Out of India)
If Manila is your departure, you already cleared Indian immigration days ago. But if this is the back end of a loop and you’re heading back to Manila from Cebu or Palawan for your international flight, the original Indian departure still applies in reverse. Keep your original documents accessible:
- Printed or digital copy of your e-visa or visa-free entry stamp for the Philippines (proving legal entry).
- Hotel or hostel booking for your Manila night before the flight.
- Return ticket to India (often shown at immigration on arrival in Manila).
- Forex card with at least PHP 5,000 for incidentals, or USD cash for airport exchange.
What to Eat Before You Fly (NAIA T3)
If you have a long layover and need a proper meal, NAIA T3 has a small food court past security. For something local before you board, Kantina Manila is a strong option if you have time to leave the airport and return. Inside T3 itself, expect generic Asian-fusion chains and a coffee shop or two. Prices are roughly 30% above city rates.
For a sit-down meal with Indian options, most of the well-rated Indian restaurants in Manila (Royal Indian Curry House, Biryanista, Seven Mannah Indian Fusion Food) are in the Makati or Quezon City districts, 20 to 40 minutes from NAIA by Grab. Budget PHP 300 to PHP 500 per person for an Indian meal in Manila proper. Not worth the trip for a 3-hour layover, but a good last meal if you’re spending a night near the airport before an early flight.
For more on the full arrival procedure at NAIA, see our NAIA Manila airport guide for Indian travelers. The Philippines travel tax explained article covers which taxes are bundled and which are paid separately, since this is a common source of confusion at the airport.
Connectivity Before You Fly
If you need data in the airport or for the flight home, your Philippine SIM (Globe or Smart) will still work for a few days after you leave, but local rates may apply. For a clean cutover, an eSIM like Nomad lets you activate a regional Asia or global plan before you take off, so you’re not relying on airport Wi-Fi to download your boarding pass. A physical Globe or Smart tourist SIM is PHP 50 at the airport, with data add-ons around PHP 100 for 5 GB, per the canonical Philippine carrier pricing.
FAQ
Do I need a return ticket to leave the Philippines?
Yes. Immigration can ask for proof of onward travel at any point. A confirmed return ticket to India or an onward ticket to a third country (Bangkok, Singapore, Kuala Lumpur) is the standard answer.
Can I pay the terminal fee by card?
Most terminal-fee booths accept cards, but carry PHP 1,000 cash as a backup. Card machines occasionally go down during peak hours.
How early should I arrive at NAIA for an international flight?
Three hours is the safe baseline. Two hours works during off-peak times (early morning, mid-afternoon) but leaves no margin if your eTravel registration fails to load or your terminal fee is unbundled.
What happens if I forget to register on eTravel?
You can register at the airport on free airport Wi-Fi, but it adds 15 to 30 minutes to your departure. Better to register 48 hours in advance from your hostel.
Is the terminal fee included in Cebu Pacific and AirAsia tickets?
Usually yes for flights departing Manila. Confirm by searching your e-ticket PDF for “terminal fee” or “PHP.” If you see a non-zero line item, it’s bundled. If the line item is missing, you’ll pay at the airport.
Can I transit through NAIA without a visa if I’m connecting internationally?
The Philippines does not run a standard transit-without-visa programme for Indian passport holders. If you’re connecting from one international flight to another, you clear immigration at NAIA and re-enter the secure area. This requires a valid visa or visa-free entry stamp, which Indians get on arrival for 30 days.
Subodh’s Take: NAIA is not the airport you want to improvise your way through. The eTravel registration is the single step most travellers miss until they’re standing at the immigration booth, and it’s the one that costs you the most time. Register 48 hours before your flight, screenshot the QR, and keep your return ticket in the same folder. Three hours of buffer turns what could be a sweaty experience into a coffee-and-a-book wait at the gate. The airport itself is fine; the queues are long but they move.